Build Your Own Gel Blaster Range in the Garden
Do you dream of taking your gel blaster experience to the next level – right at home in your own backyard? With a little creativity, you can build a fun and safe course where family and friends can compete and have fun.
Planning the Course
-
Choose a location: Make sure the area is safe, free of dangerous objects or fragile plants. A lawn or yard is ideal.
-
Design the course: Think about hiding places, open areas and possible tunnels. Divide the course into zones for more excitement.
-
Safety Zone: Create an area where participants can rest or refuel without being hit.
Materials for the Track
-
Obstacles: Cardboard boxes, wooden boards, or old furniture can act as hiding places or walls.
-
Barriers: Fill sacks with leaves or use inflatable objects as colorful obstacles.
-
Permanent: Wooden fences, pallets or your own constructions can provide a permanent path.
-
Decoration: Paint or spray to create team zones or make the course more exciting.
Setup
-
Measure up: Mark out space for hiding places, obstacles, and open areas.
-
Build obstacles: Put the big things first, then small ones to create varied coverage.
-
Make paths: Ensure clear passages and a good balance between open and hidden areas.
-
Test the course: Try out the course and adjust for both fun and safety.
Safety tips
-
Always wear safety glasses and appropriate clothing.
-
Explain the rules clearly and mark areas that are not allowed to be entered.
-
Keep an appropriate distance during the game.
-
Check that materials and constructions are stable and without sharp edges.
Ready for Action in the Garden?
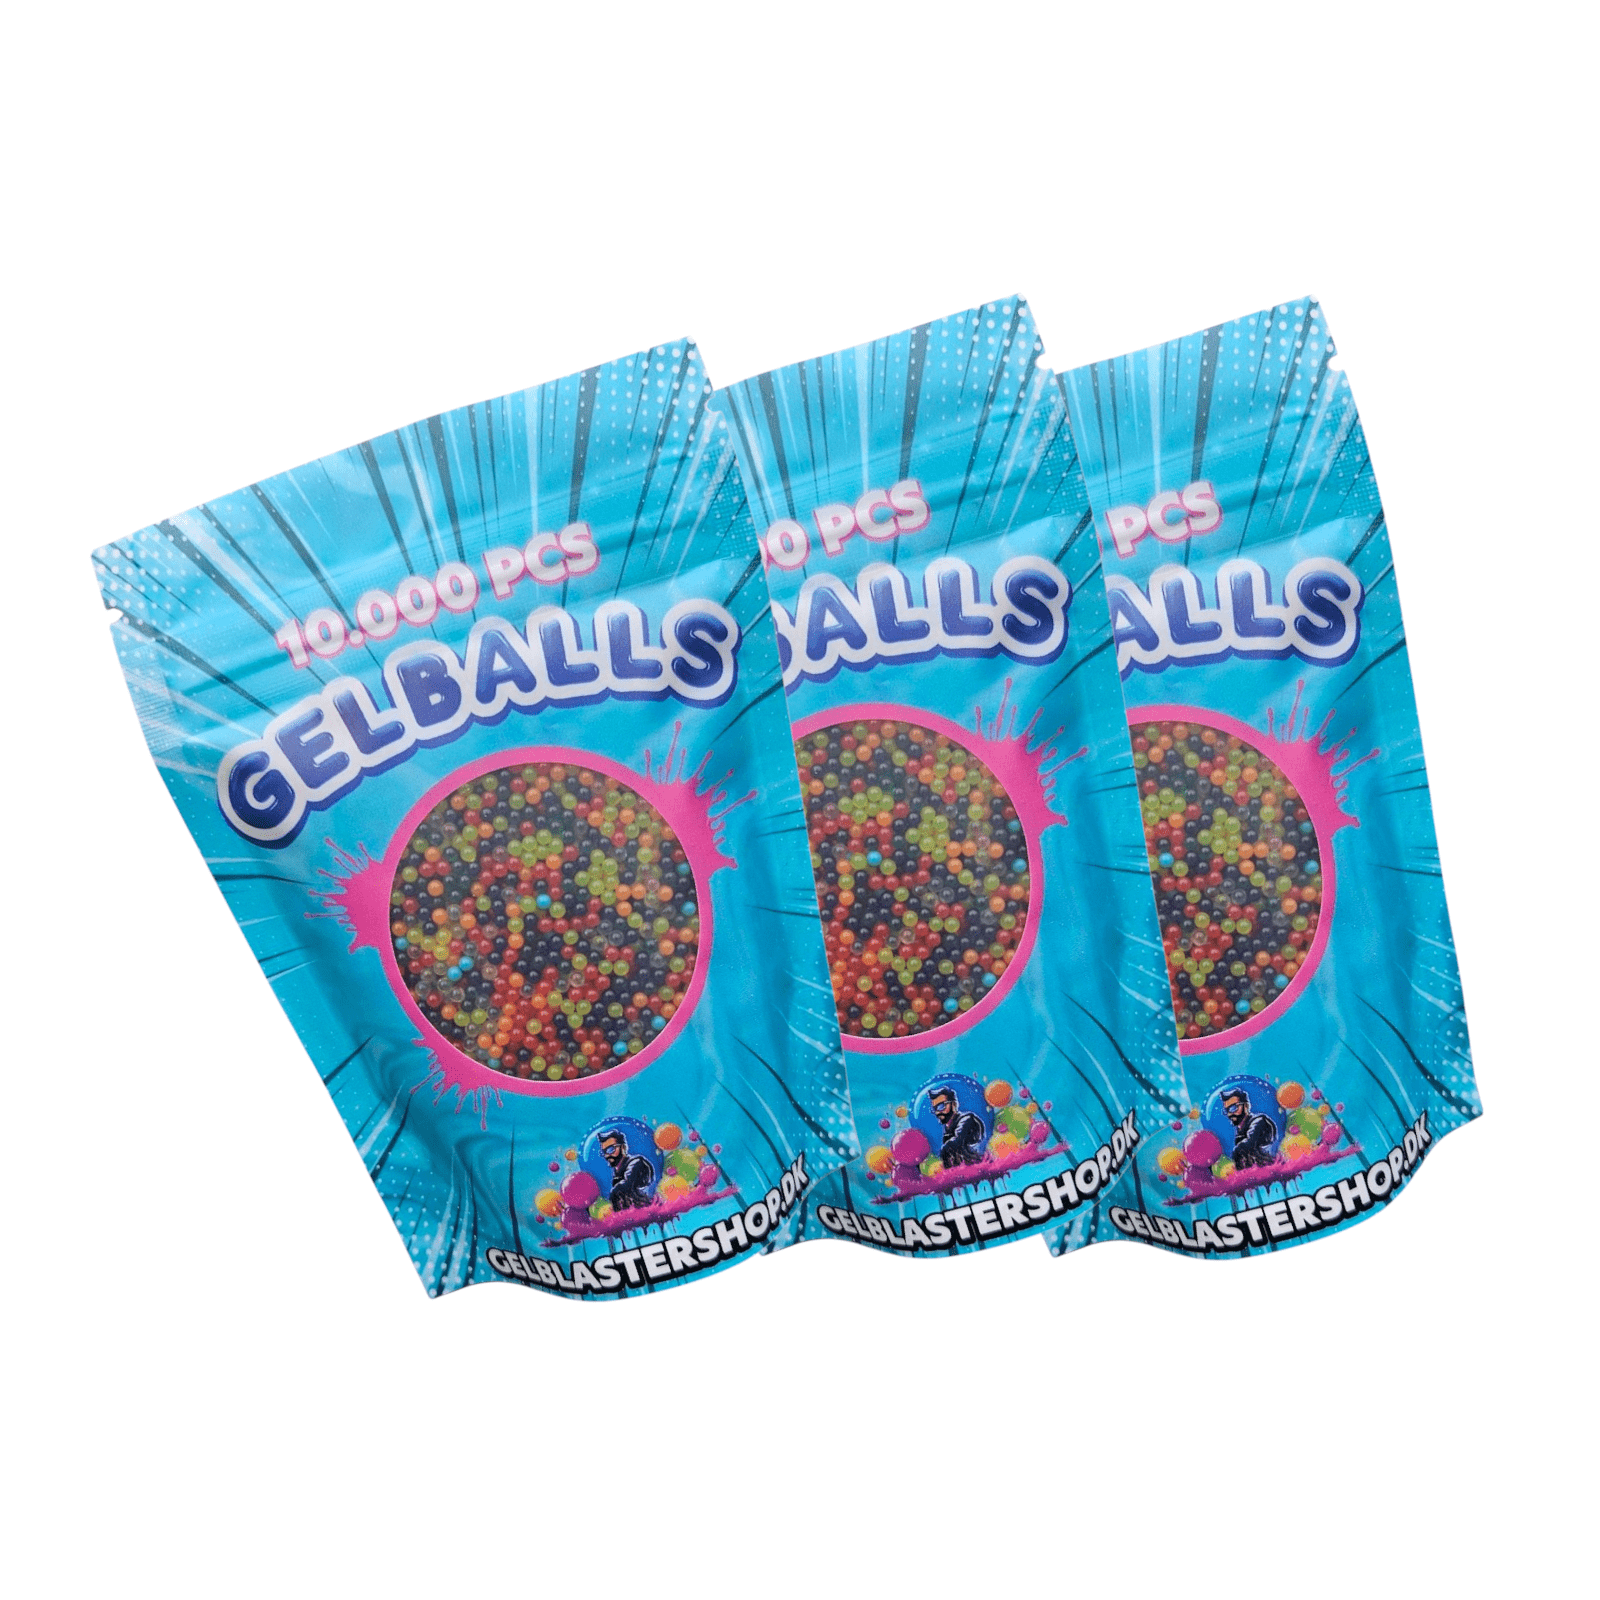
With a homemade gel blaster course, you can create unforgettable hours of fun and play without having to leave home. You can find all the equipment for your adventure at GelBlasterShop.dk – from gel balls to blasters and accessories.


